
The most common feed types of parabolic antennas

Two ways for you: satellite dish Installation and Setting up receiver
With the technology progress in recent years, there are more chances for audiences besides the common cable and satellite corporations paid service. The Free-To-Air (FTA) satellite television programs has become a good choice for audiences, which has good cost performance and better capabilities. Please continue to read the following information to learn how to do FTA receiver system installation and setting.
Around the planet earth, there are various geostationary satellites orbit to broadcast FTA signals. Among this, we take the CCTV-4 on satellite Galaxy-3 orbit 95° W, a free Chinese Mandarin program as an example.
Method 1: satellite dish Installation
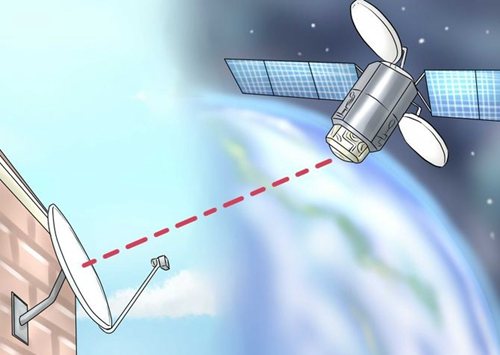
1 Choose a position which can receive a direct line of sight in the direction of the satellite. Usually we choose higher positions like rooftop, balcony etc. You can use a compass to locate the angle easily, such as a position at 95° southwest.
2. Install the antenna at the chosen position. It must be fixed tightly at the installing base to make the antenna have good wind resistance in case of falling down and endangering people and property below it. If the antenna is installed on a wood roof, please do caulking around the installing base so that it can have water resistance.

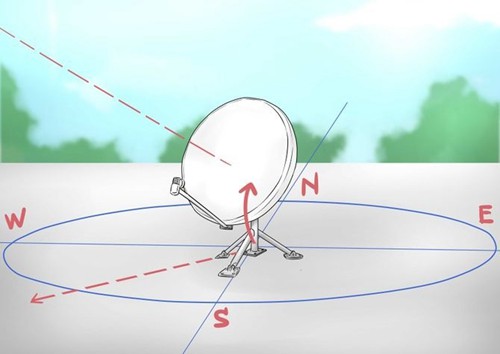
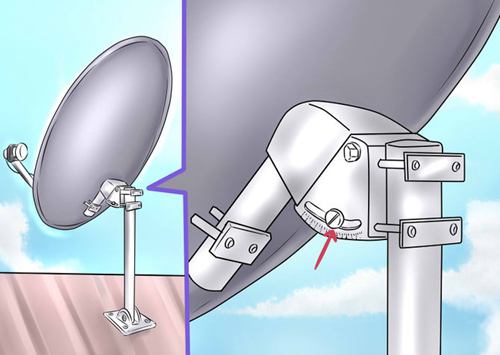
3. Adjust the antenna angle to point at 95° southwest and then incline it slightly. Fasten the screws to control the angle adjustment, but don’t fasten them absolutely
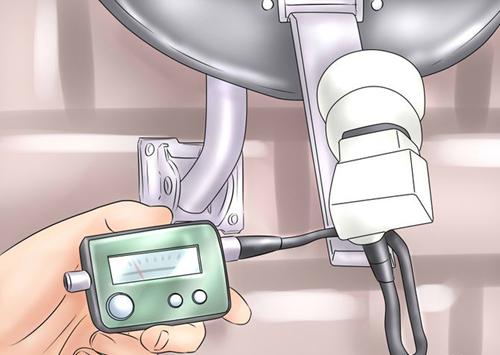
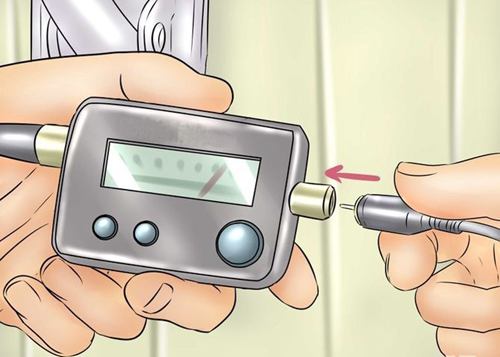
4. Connect the satellite detector with a coaxial cable of 1.8m length. Then turn on the satellite detector, input the satellite name (For example: Galaxy 3C), and then downlink the frequency point (11.78KHz). You will hear continuous beeping with quiet intervals.
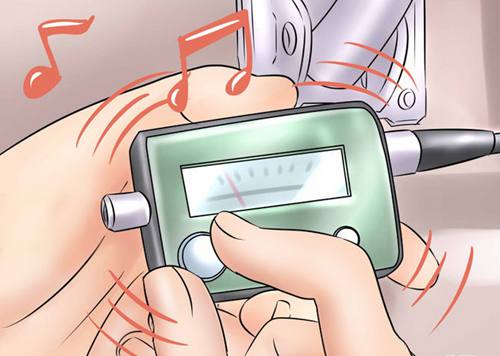
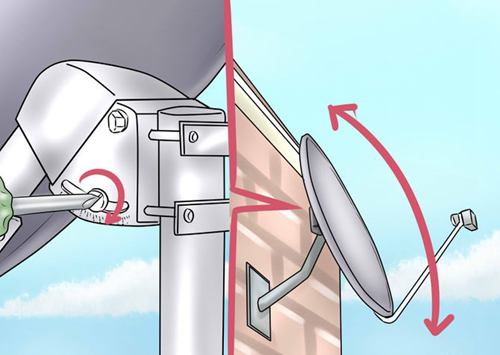
5. Rotate the dish and use the beeping to make the horizontal position correct. If you’re rotating to the correct direction, the beeping interval will become shorter; if rotating to the opposite direction, it will become longer.
6. Fix the existing angle by fastening the rotation control screw absolutely.
7. Adjust the vertical angle in the same way of adjusting the horizontal angle. Now the receiver dish will be at the optimum position to capture the satellite signals.
8. Connect one end of the long outdoor coaxial cable to the satellite dish.
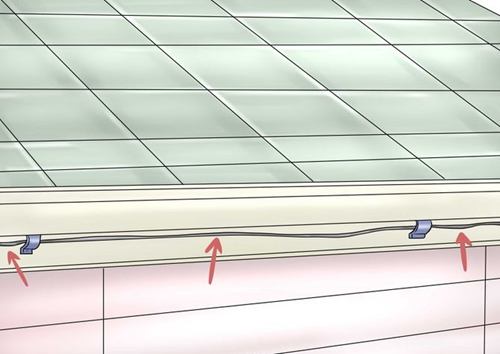
9. Fix the cable at the roof edge or balcony edge orderly and neatly. Don’t make the cable hang freely in case of being damaged or potential risk.
10. Punch a hole in the wall so that the cable can pass from outdoor to indoor.
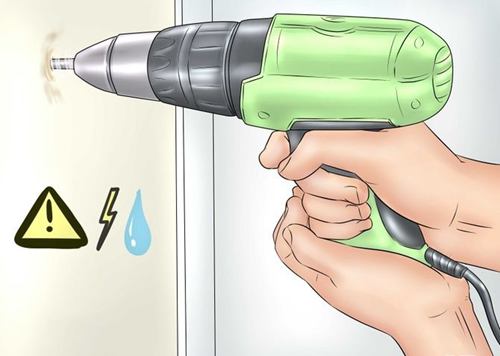
WARNING: Please keep away from the electrical wires and water pipers when punching a hole in the wall in case of electric shock injury and water damage to the building.
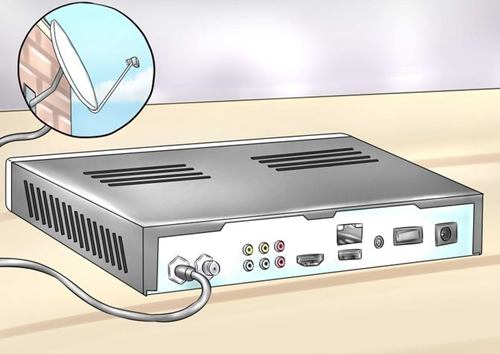
11. Connect the cable to the receiver in the room where it is located.
Method 2: Setting up receiver
Before getting TV signals from TV set, you need to set up the receiver to decode the satellite signals so that they can convert to TV signals.
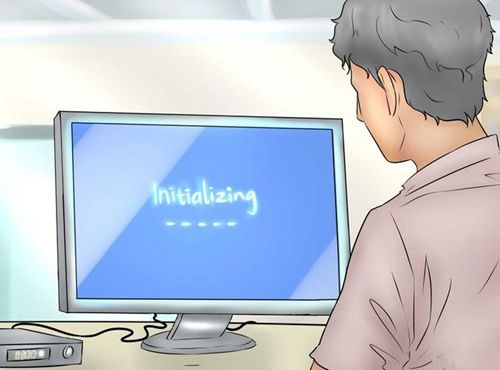
1 Turn on the receiver and TV set connected with the receiver, then you would see the receiver initializing on the TV screen.
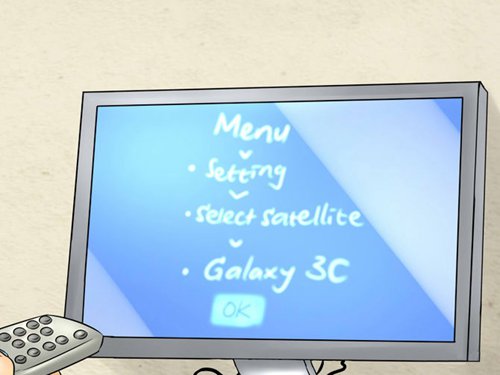
2. After initialization finishes, press the “Menu” key on the remote control of receiver, select “setting” from the menu, then “Select Satellite”. You will see the satellite names preset on the screen. Then press “Up” or “Down” key to move on the screen until find the “Galaxy-3C” satellite, press “OK” to select.
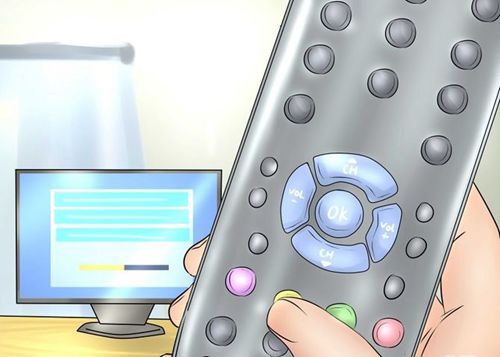
3. Start searching channels by pressing the yellow button on the remote control, then you will see a progress bar changing on the screen. When it reaches 100%, searching will stop automatically. And there will display the first channel found on the screen.
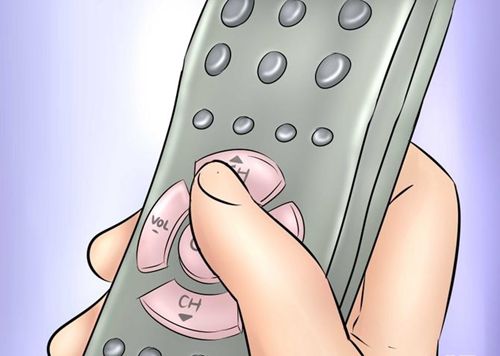
4. Press “CH ” or “Down” key to switch channels.
5. OK! Now you can watch all the free channels from Galaxy-3 orbit 95° West longitudes.

Related posts


